
OTOBO / Znuny Setup Guide
Create the open_ticket_ai technical user, import the Generic Interface webservice, and connect OTAI Runtime to OTOBO or Znuny.
OTOBO / Znuny Setup Guide
Open Ticket AI connects to OTOBO/Znuny using a restricted WebService and a technical user. Follow these steps to configure access securely.
1. Create the User open_ticket_ai
This technical user is dedicated to Open Ticket AI. Do not give it admin permissions. Grant only the access required for your automation.
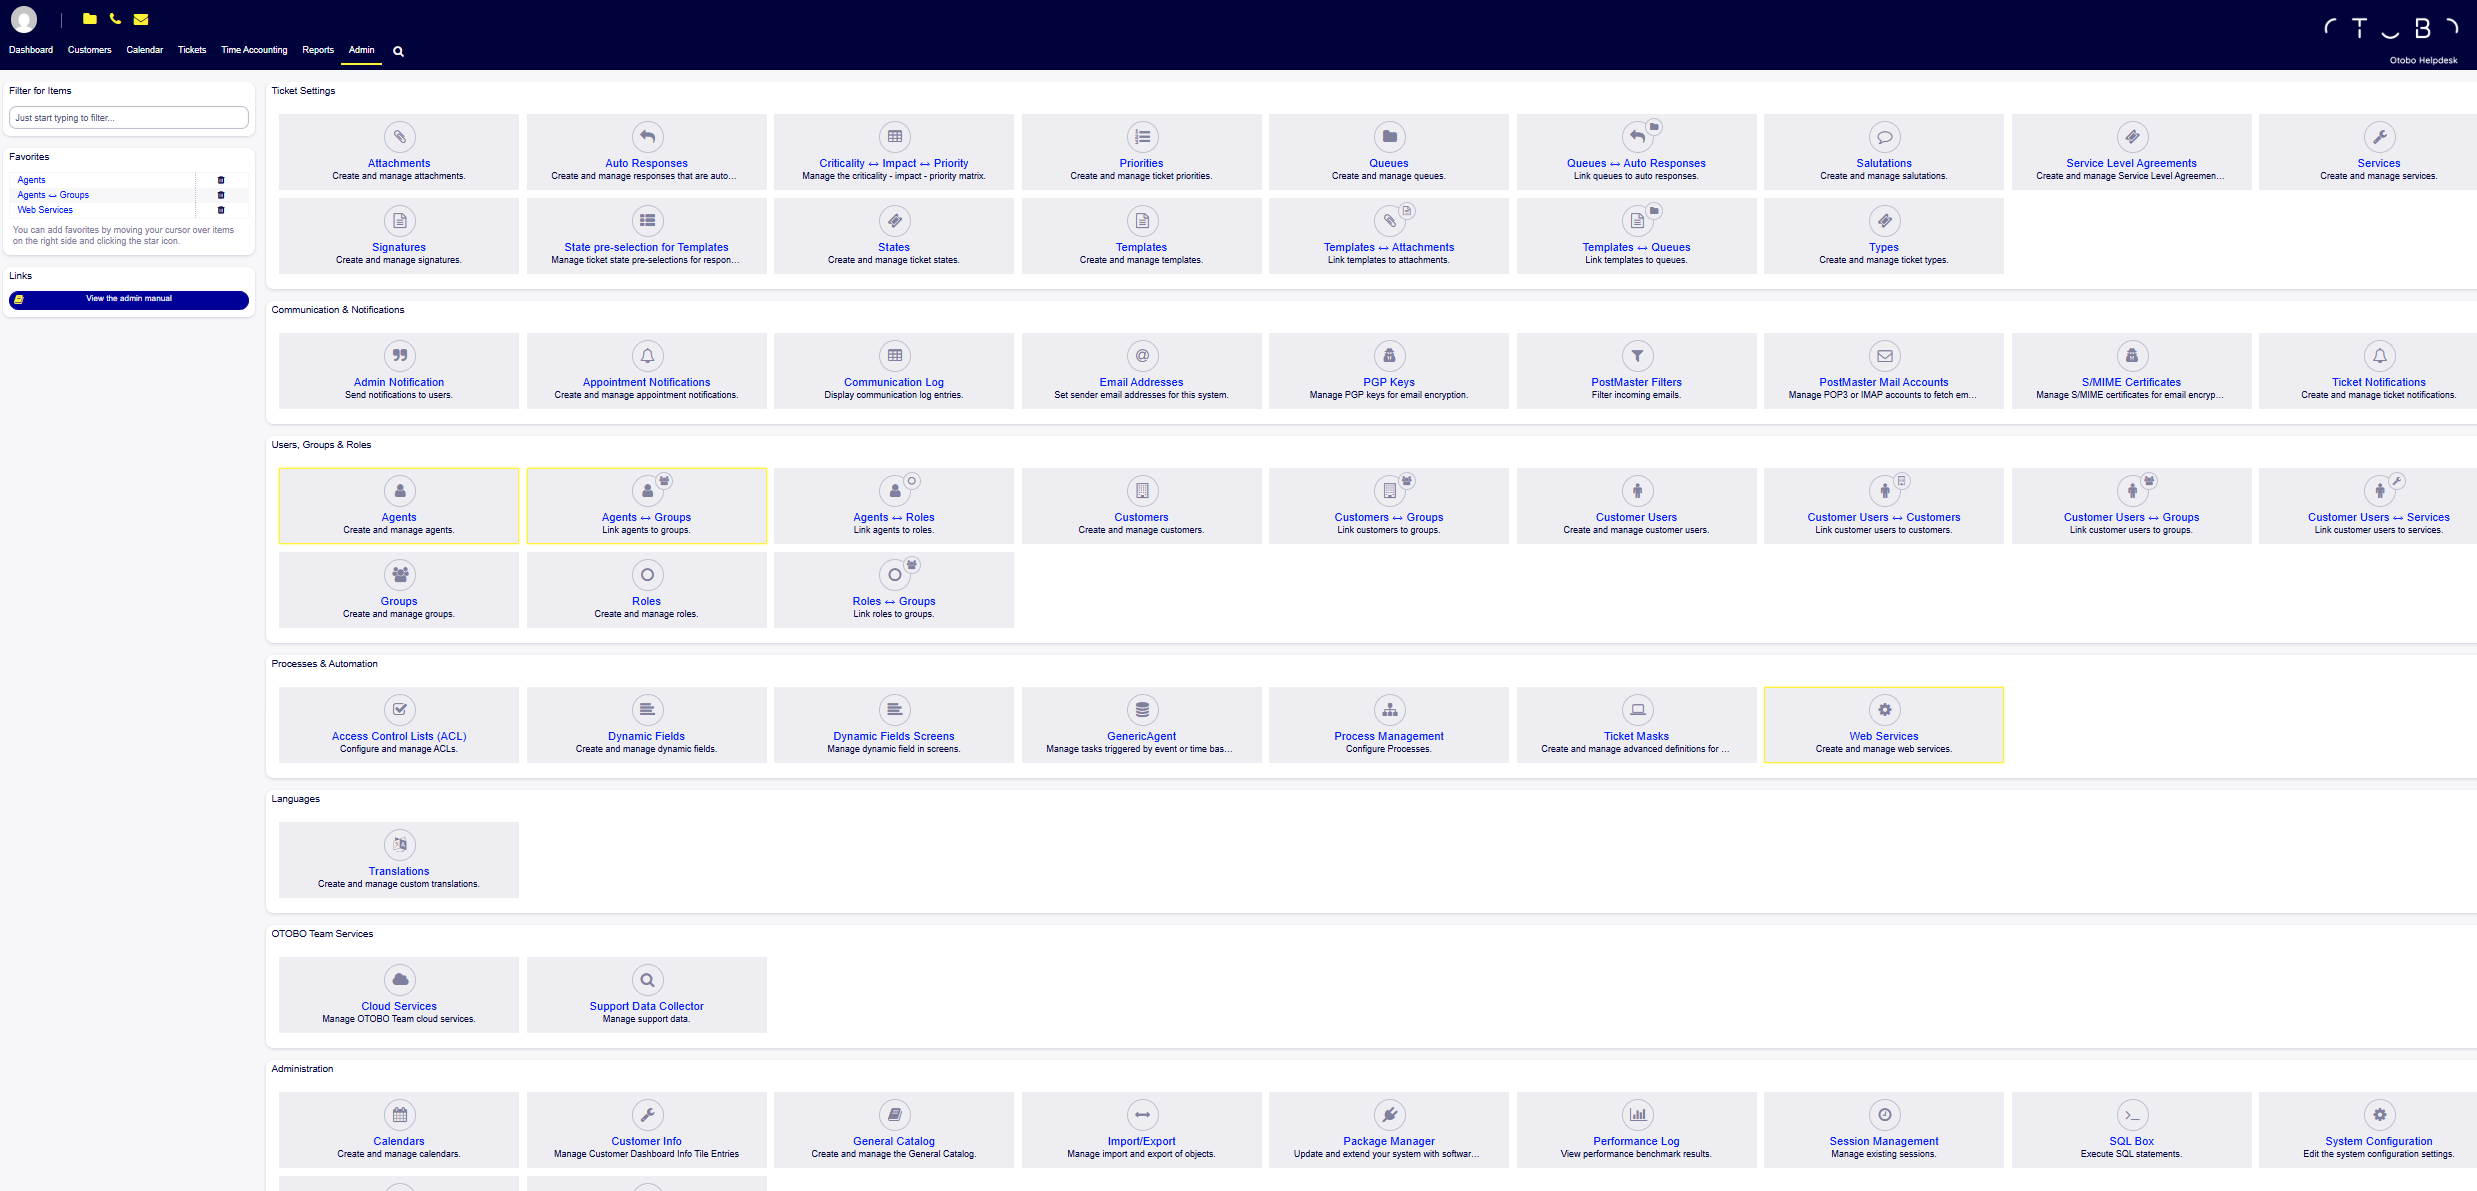
Step 1: Go to Admin → Agents
Open the OTOBO Admin interface:
Step 2: Click “Add Agent”
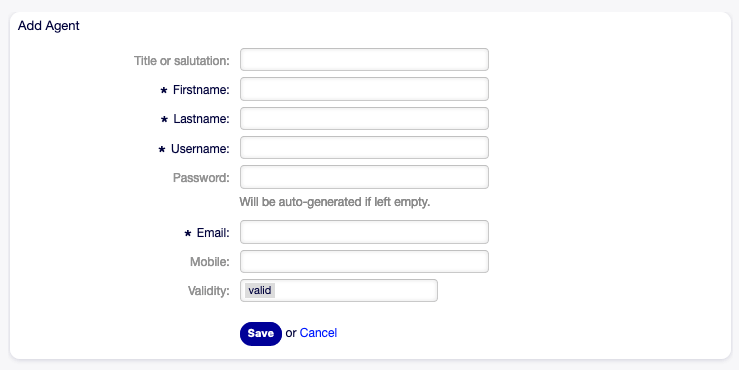
Fill in:
| Field | Value |
|---|---|
| Username | open_ticket_ai |
| Firstname | Open |
| Lastname | Ticket AI |
| (anything) | |
| Password | 16-character random password |
Generate a secure password
:::code-group
openssl rand -base64 32 | cut -c1-16# PowerShell
-join ((33..126) | Get-Random -Count 16 | ForEach-Object {[char]$_}):::
Step 3: Save the password as env var
Set the password in your environment:
OTAI_OTOBO_PASSWORD=your_generated_password_here
# or for Znuny:
OTAI_ZNUNY_PASSWORD=your_generated_password_here
Do not commit this password to Git. Store it in .env or server secrets.
2. Assign Permissions (Agents ↔ Groups or Agents ↔ Roles)
Open Ticket AI can only execute actions permitted for its user.
Grant permissions based on your active workflows:
| Workflow | Required Permissions |
|---|---|
| Queue Classification | ro, move_into |
| Priority Classification | ro, priority |
| Note creation | ro, note |
| Ticket updates | ro, move_into, priority, note |
Option A — Assign via Groups (recommended)
Go to Admin → Agents ↔ Groups.
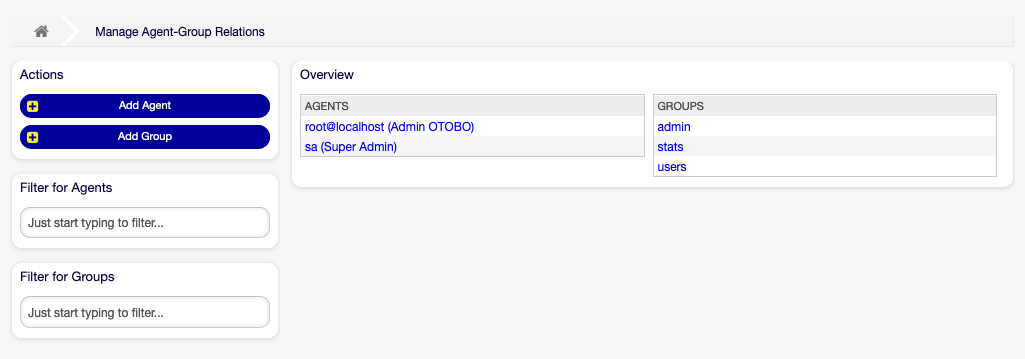
Select open_ticket_ai and assign required permissions:
| Permission | Meaning |
|---|---|
| ro | Read ticket |
| move_into | Move ticket into queue |
| priority | Change priority |
| note | Add internal notes |
Add rw if ticket creation is required.
Option B — Assign via Roles (optional but scalable)
If using Roles → Groups mapping, go to Admin → Agents ↔ Roles and ensure the role has required group permissions.
3. Ensure Queues, Priorities, and Fields Exist
Workflows reference queue and priority names configured in OTAI Studio (e.g. queue “IT”, priority “3 Mittel”).
You must manually confirm:
✅ Every queue name in workflow config exists in OTOBO/Znuny ✅ Every predicted priority exists ✅ Agent has note permission if note actions are used ✅ Referenced ticket types exist
Mismatched names will cause WebService updates to fail.
4. Create the WebService “OpenTicketAI”
Go to Admin → Web Services.
Step 1: Click “Add Web Service”
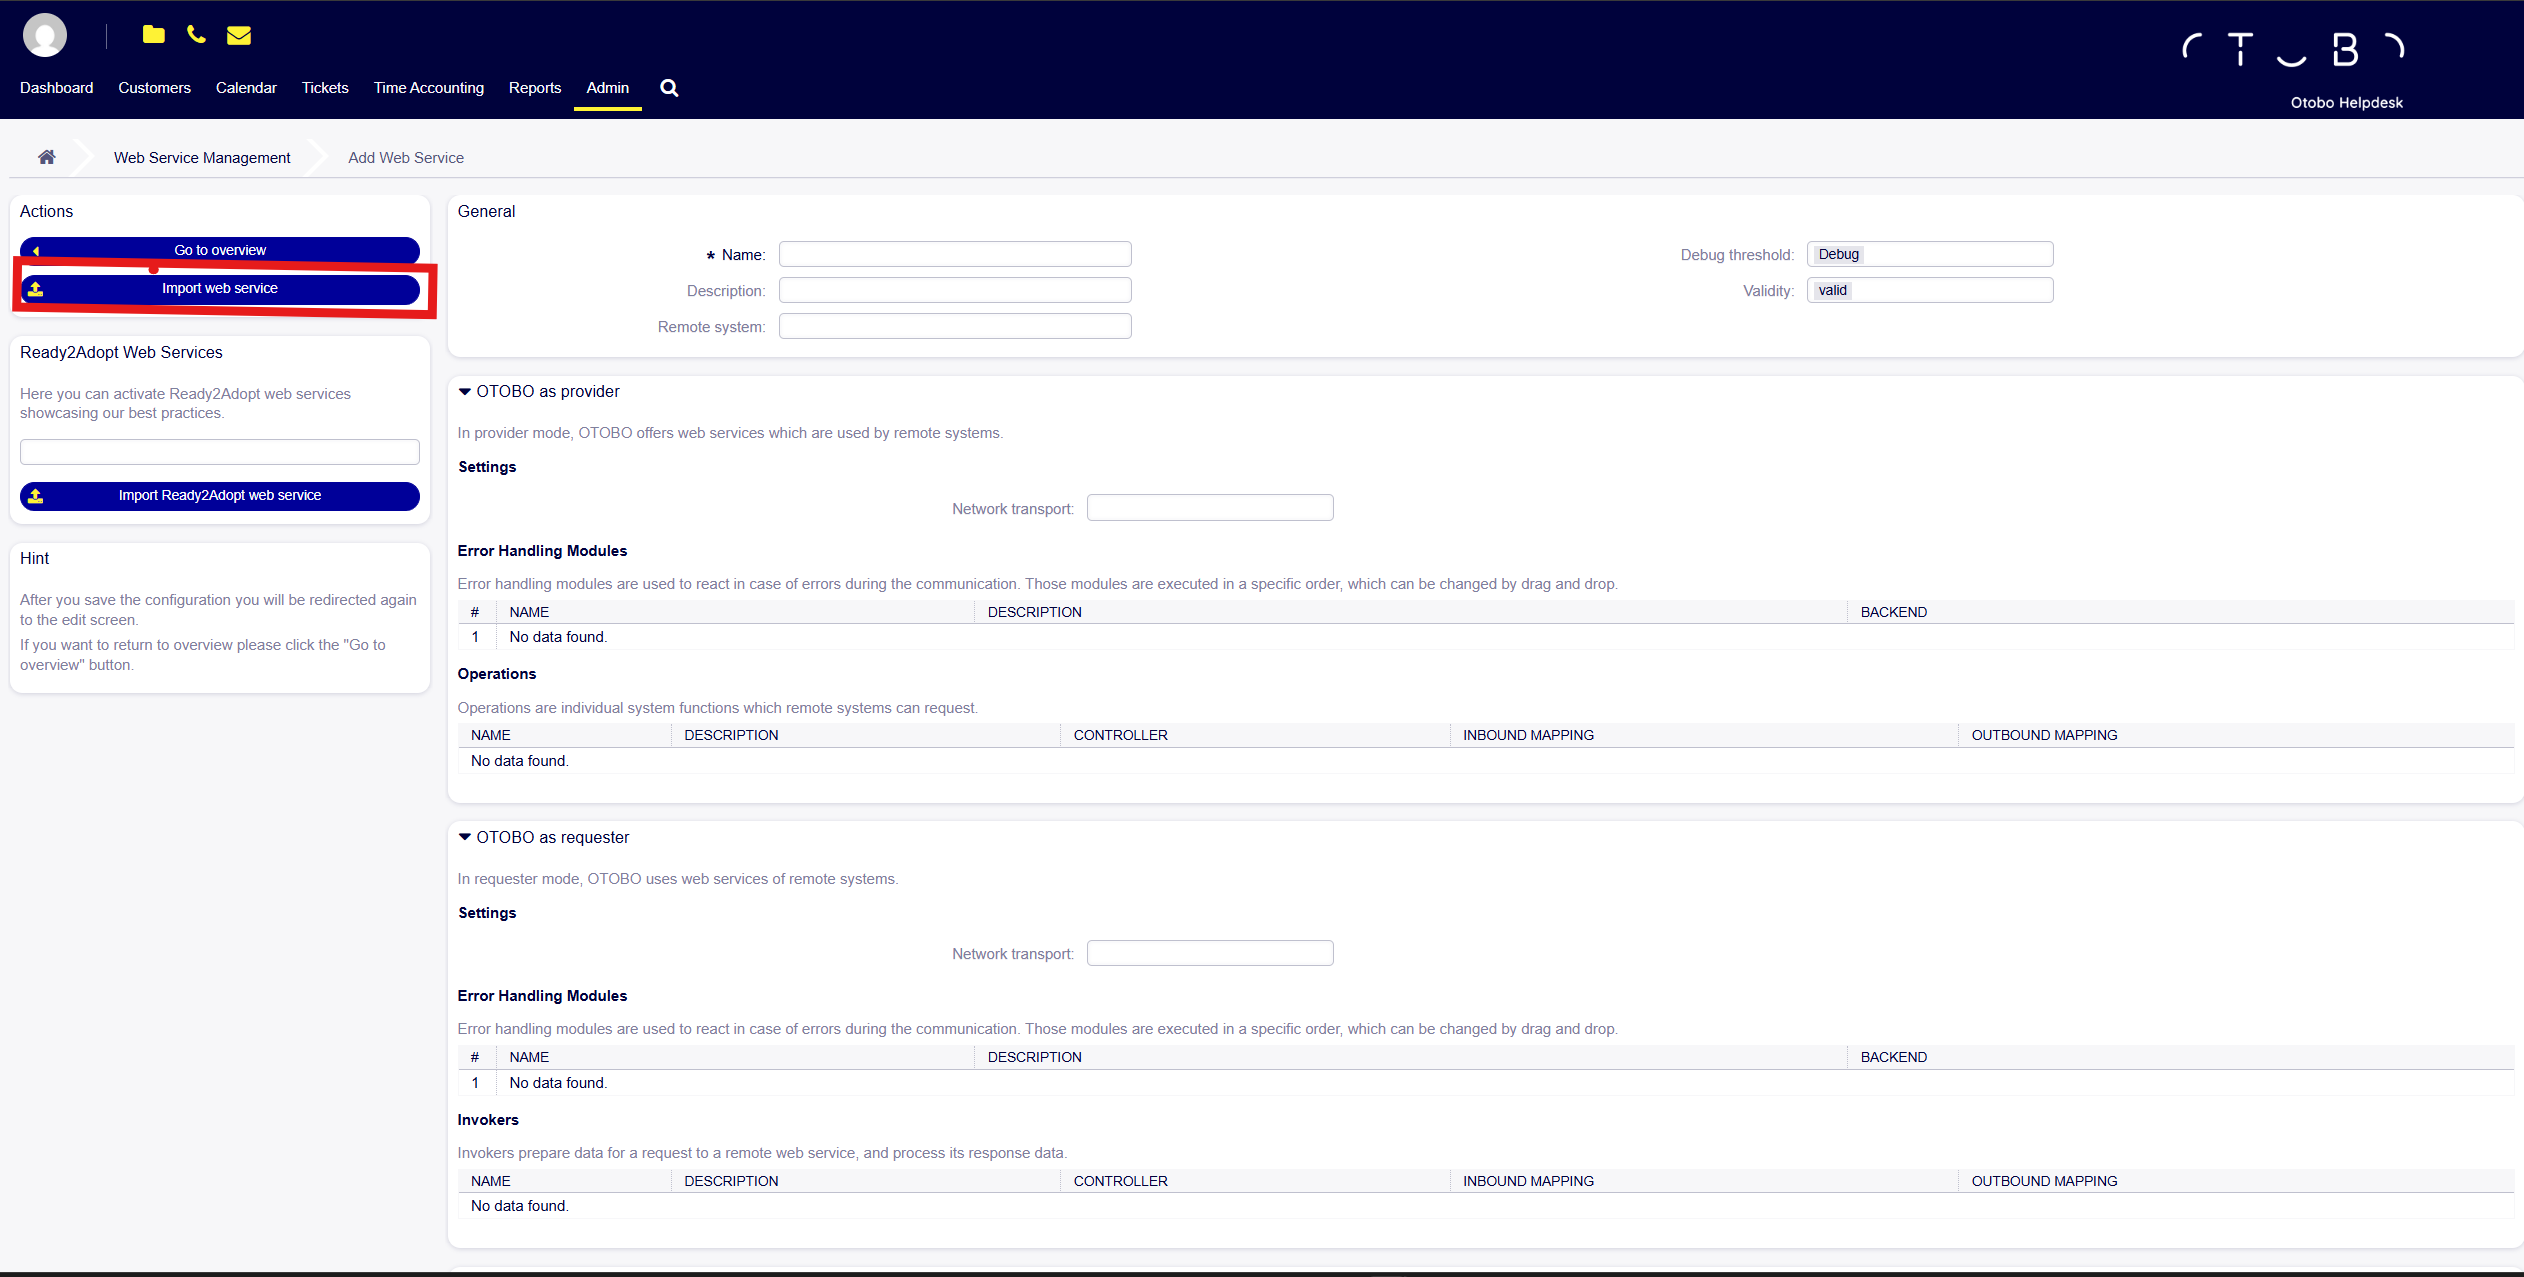
Select Import Web Service.
Step 2: Import Webservice
Import the provided template file:
Upload it using Import web service. This creates endpoints restricted exclusively to open_ticket_ai:
/ticket-get/ticket-update/ticket-search/ticket-create
5. Why the WebService Is Restricted
The imported YAML maps inbound requests to open_ticket_ai:
ValueMap:
  UserLogin:
    ValueMapRegEx:
      .*: open_ticket_ai
This enforces authentication as open_ticket_ai and protects against:
- Password brute-force attacks
- API abuse
- Unauthorized ticket manipulation
Combined with a 16-character random password, brute-force attacks are ineffective.
6. Verify WebService Is Active
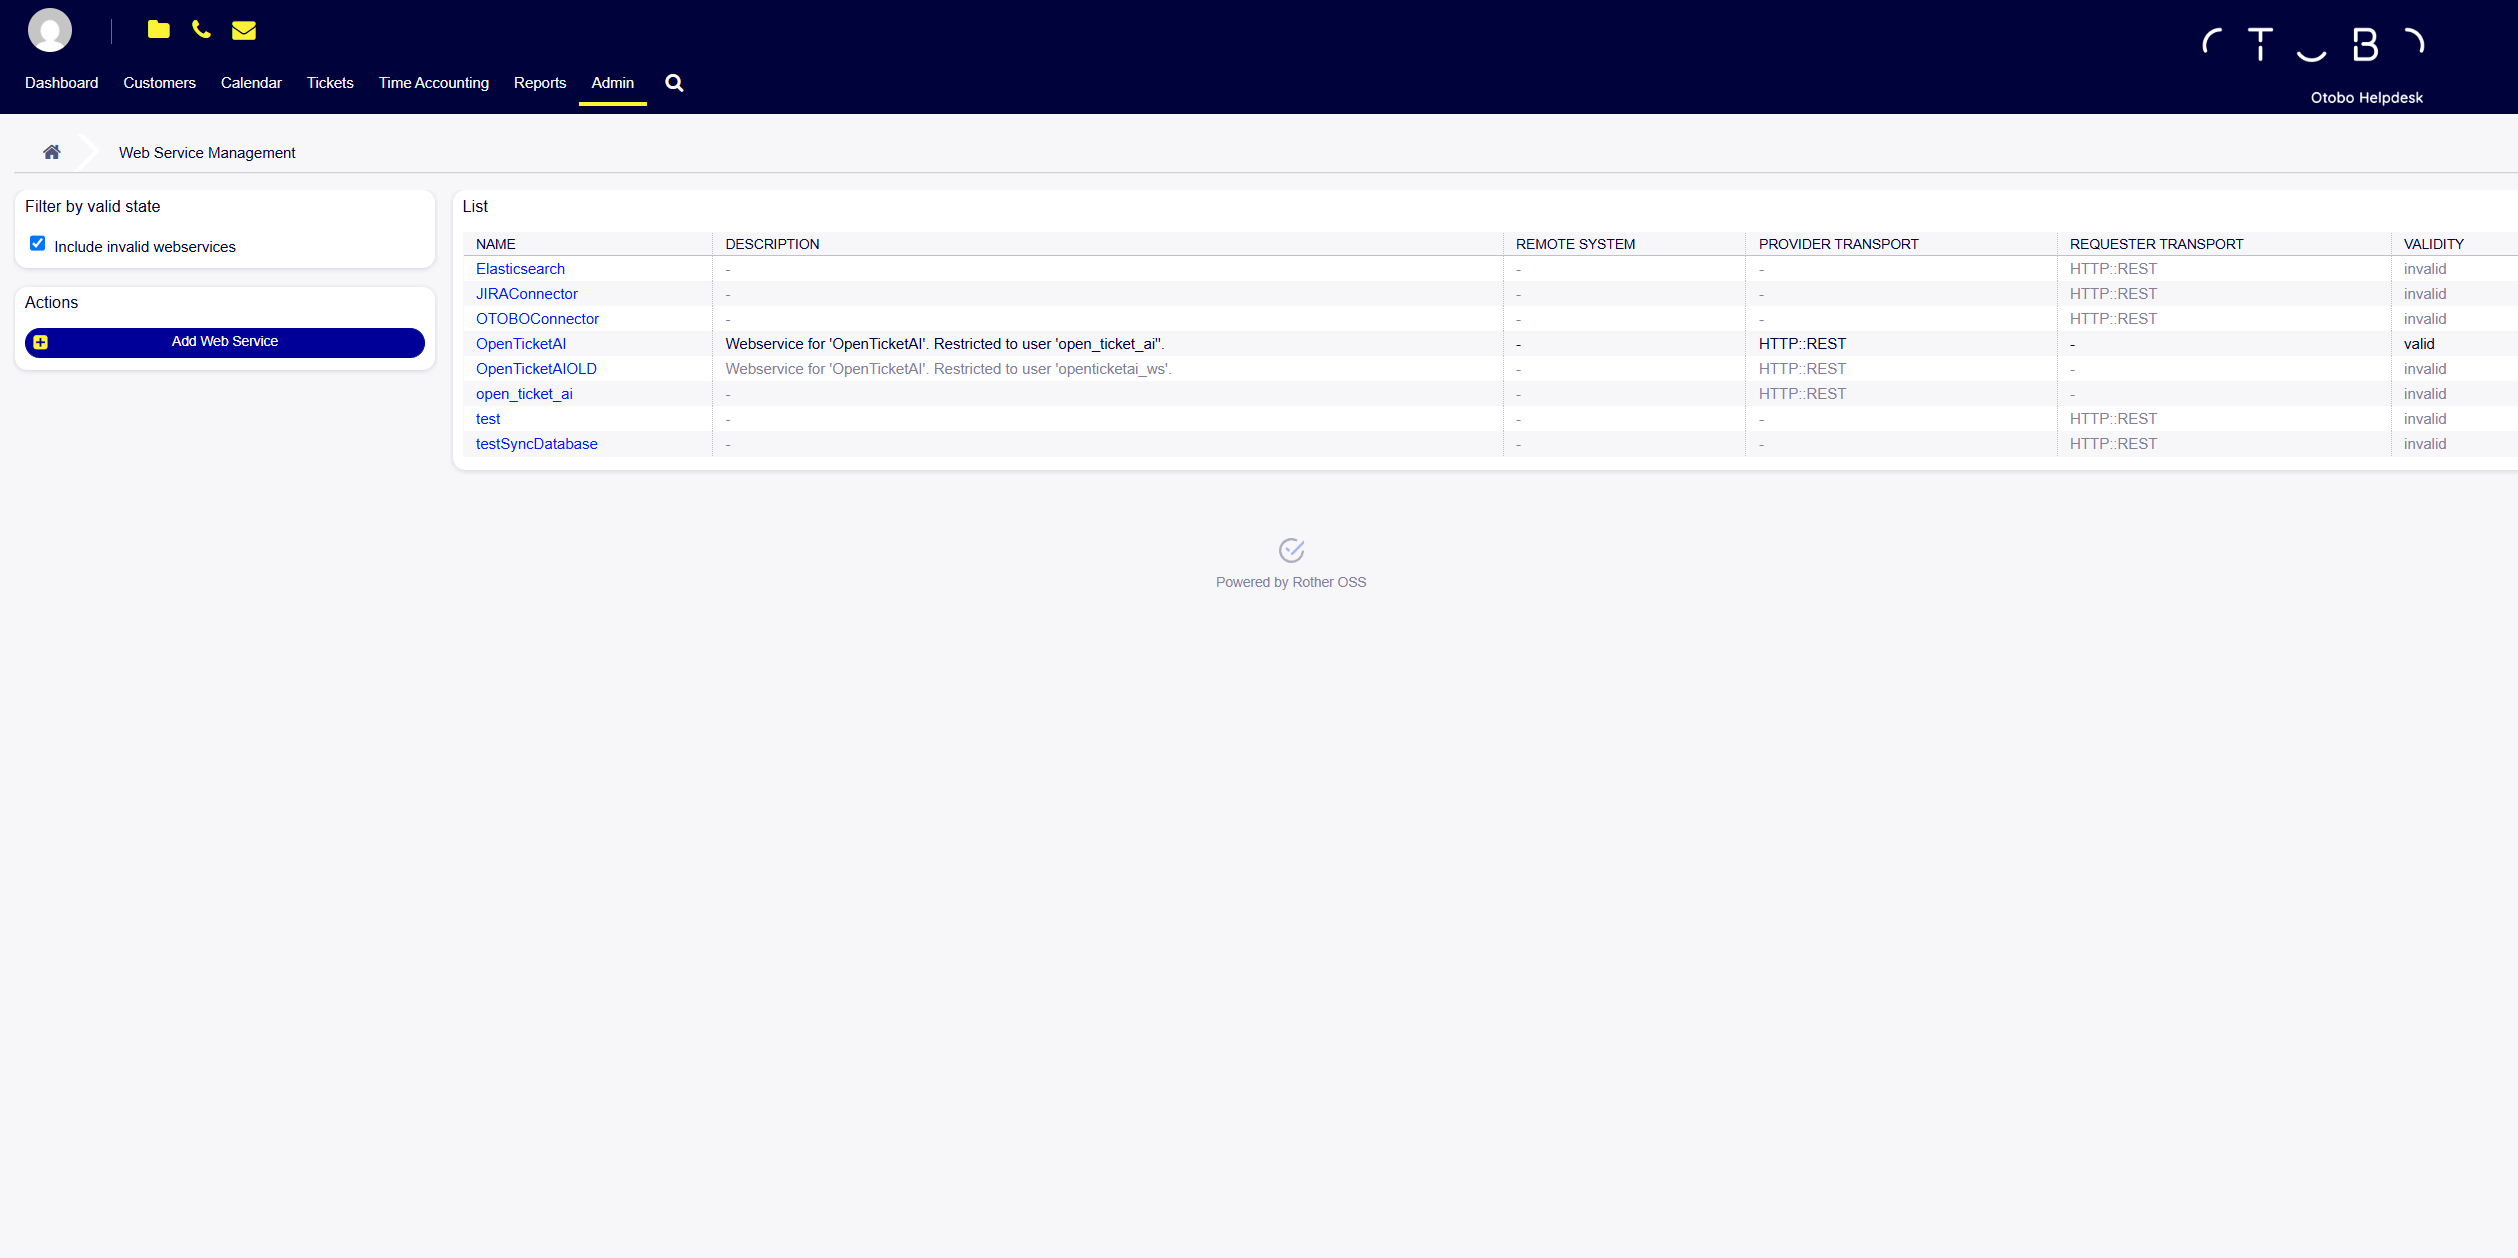
Verify the imported service in your list:
Ensure:
✅ Name: OpenTicketAI
✅ Provider Transport: HTTP::REST
✅ Validity: valid
✅ Restricted to user open_ticket_ai
If invalid, edit and save the configuration again.