Zammad MCP Server — Quick Start
Install the Zammad MCP Server and verify connectivity with health_check in under 15 minutes.
Quick Start
Get the Zammad MCP Server talking to your instance in a few steps.
Prerequisites
- Python 3.11+ (or use
uvxwithout a global install) - A running Zammad instance (6.0+; tested with 7.1 — self-hosted, cloud, or local Docker stack)
- A Zammad HTTP API token (see below)
Create a Zammad API token
The MCP server authenticates with a personal access token from your Zammad profile. Official reference: Token access (Zammad admin docs).
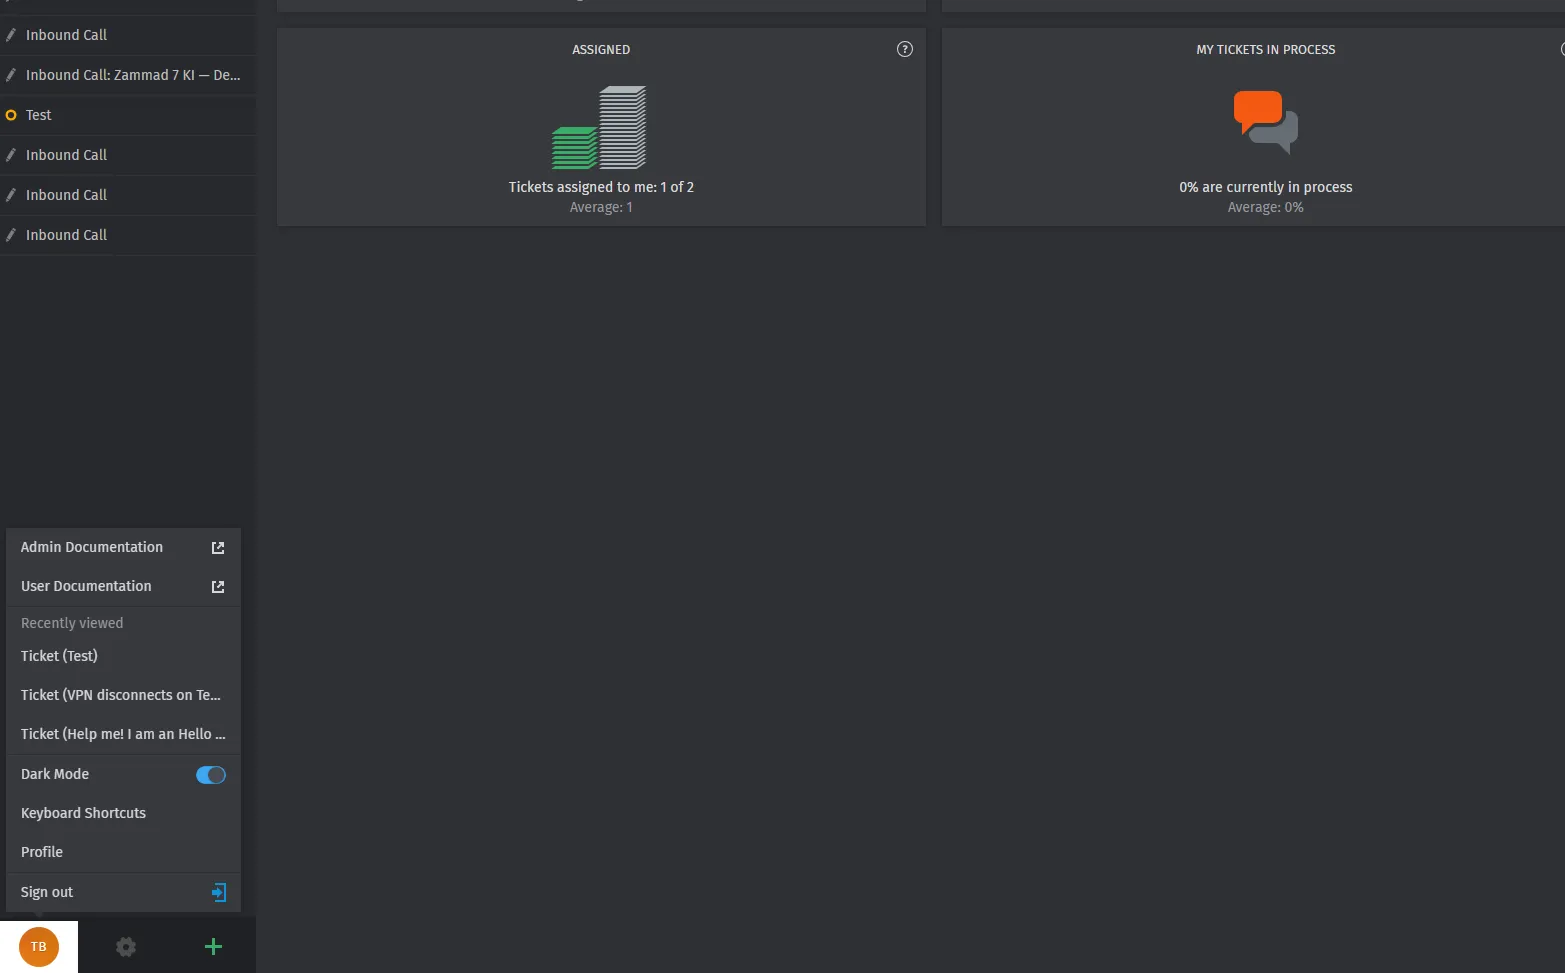
Step 1 — Open your profile
Click your user icon in the bottom-left corner of Zammad, then choose Profile.
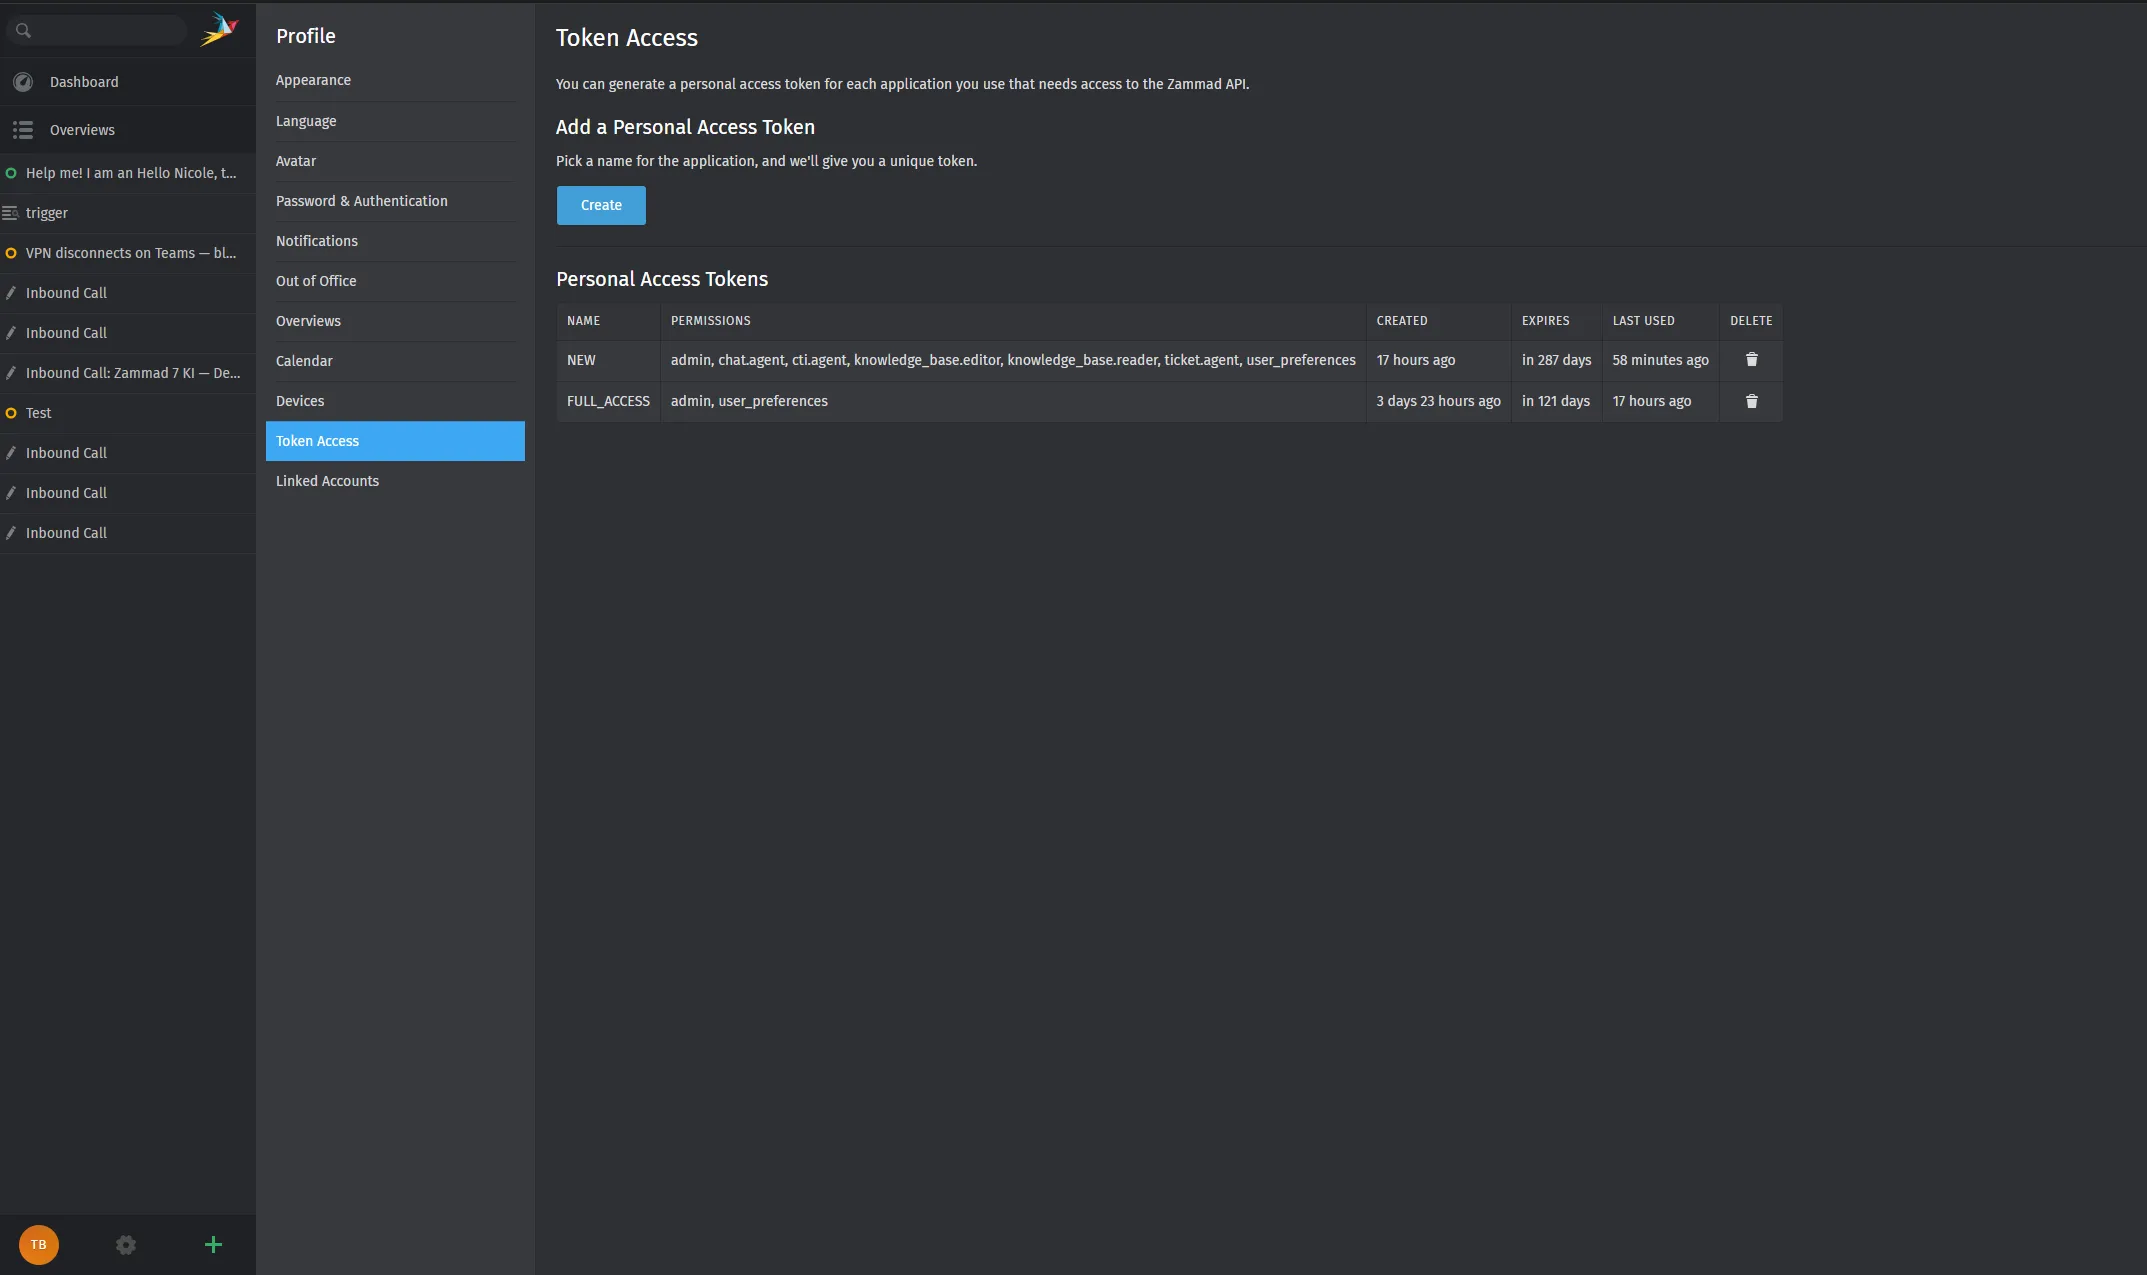
Step 2 — Open Token Access
In the profile sidebar, select Token Access. Under Add a Personal Access Token, click Create.
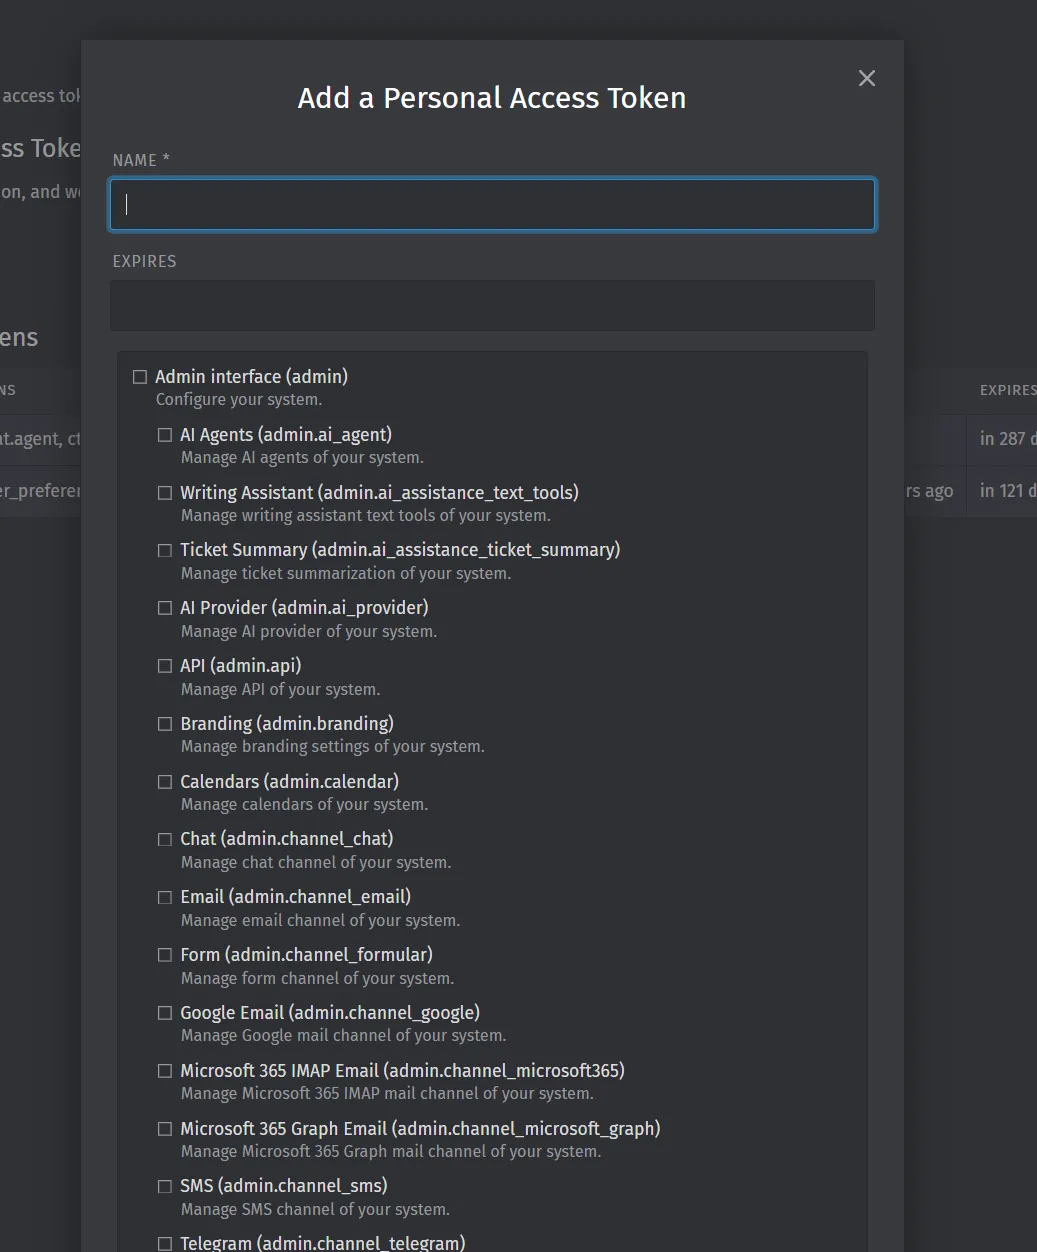
Step 3 — Name the token and set permissions
In the dialog Add a Personal Access Token:
- Enter a name you will recognize later (for example
MCP_TOKENorCursor Zammad). - Optionally set an expiration date.
- Enable the permissions your MCP workflows need. For typical ticket search, updates, and user lookup, include at least:
- ticket.agent
- user_preferences
If you use admin-only MCP tools (for example some group or system operations), you may need additional scopes — start with the minimum set and add permissions only if a tool returns access denied.
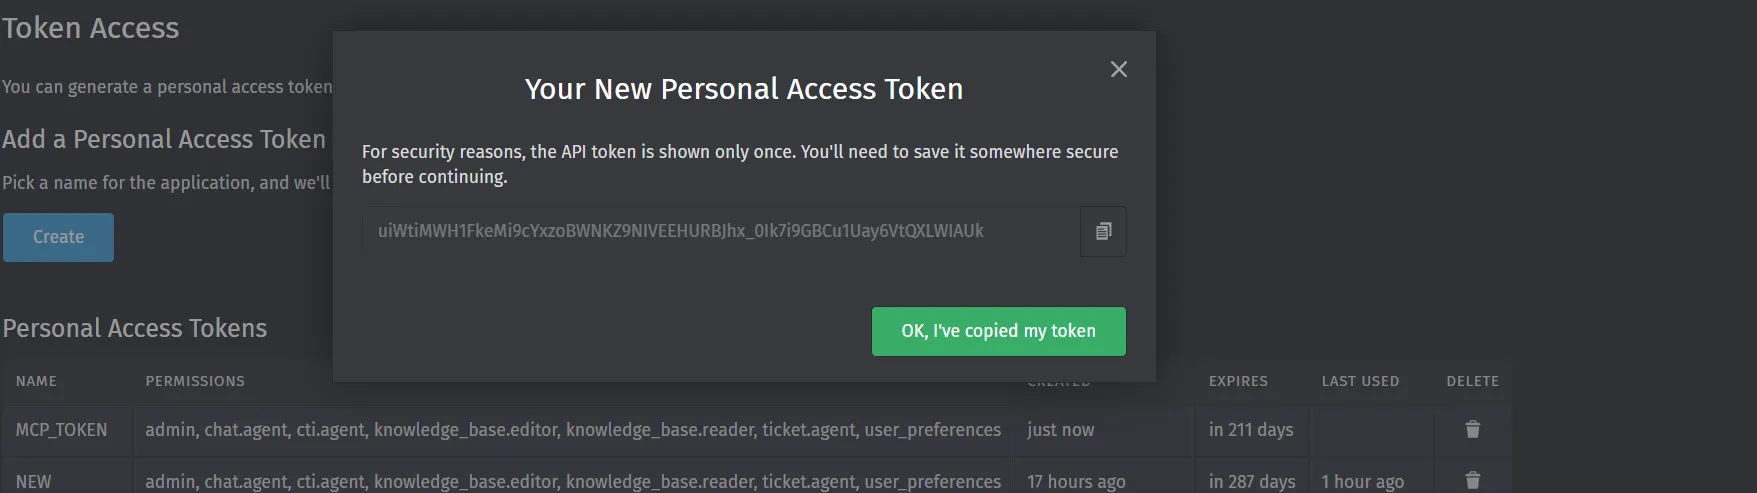
Step 4 — Copy the token once
Zammad shows the token only once. Copy it immediately (use the copy button), store it in a password manager or your MCP env block, then confirm with OK, I’ve copied my token.
You will paste this value into ZAMMAD_HTTP_TOKEN in the next section. If you lose it, delete the token and create a new one.
1. Install
Recommended (one-shot run):
uvx zammad-mcp-serverOr install globally:
pip install zammad-mcp-server
# or
uv tool install zammad-mcp-server
2. Configure environment
Create a .env file in your working directory (or set variables in your MCP client config):
ZAMMAD_URL=https://your-zammad-instance.example.com
ZAMMAD_HTTP_TOKEN=your_api_token_here

# Recommended: deny destructive tools by default
MCP_DENIED_TOOLS=delete_ticket,delete_user,delete_organization
See Configuration for all options.
3. Run the server (stdio)
For local MCP clients (Claude Desktop, Cursor):
zammad-mcp-serverThe server uses stdio transport by default — the MCP client spawns this process and communicates over stdin/stdout.
4. Verify in your MCP client
After adding the server to Claude or Cursor, ask:
Run
health_checkon Zammad.
A successful response includes Zammad version information and confirms API connectivity.
Other useful first prompts:
- “List open tickets assigned to me.”
- “Search tickets with state open in the Support group.”
- “Call
get_allowed_toolsand show which tools are enabled.”
5. Optional — SSE for remote clients
To expose the server over HTTP (remote MCP clients):
zammad-mcp-server --transport sse --port 8000Use only on trusted networks or behind authentication. See Deployment.
Troubleshooting
| Symptom | Check |
|---|---|
| Connection refused | ZAMMAD_URL must include scheme (https://) and reach the instance from the host running MCP |
| 401 / 403 | Token scope and user role; regenerate token in Zammad |
| Tool not found | MCP_DENIED_TOOLS or MCP_ALLOWED_CATEGORIES may block the tool — run get_allowed_tools |
| SSL errors | Corporate proxy or custom CA — set verify per deployment docs on GitHub |
What’s next?
- Claude & Cursor Setup
- Security before team-wide rollout
- Full Tools Reference